Using docker on FreeNas (TrueNAS Core)

In this tutorial we will go over the installation of docker in FreeNas (if using jails is not enough). The first step will be to install a host for docker in a virtual machine. In the documentation for FreeNas they propose to use Ubuntu. My actual version of FreeNAS is FreeNAS-11.3-U4.1.(now TrueNAS CORE 12). The video tutorial can be found here https://hometinylab.blogspot.com/2021/01/follow-up-on-using-docker-on-truenas.html .

The major job will be to install a virtual machine on the FreeNAS platform.

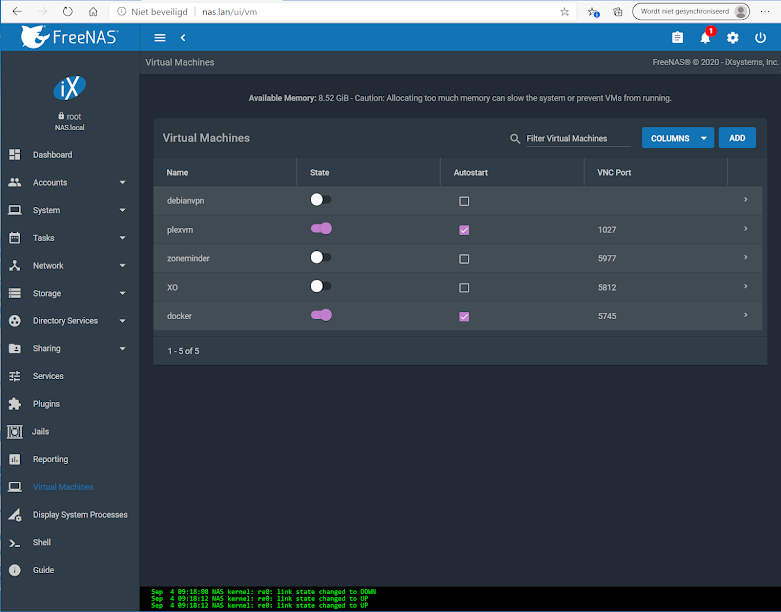
Select Virtual Machines in the FreeNAS menu.

FreeNas Virtual Machines

In the list you will see the existing docker instance running. Know click on the ADD button and we will create a second one for this tutorial.

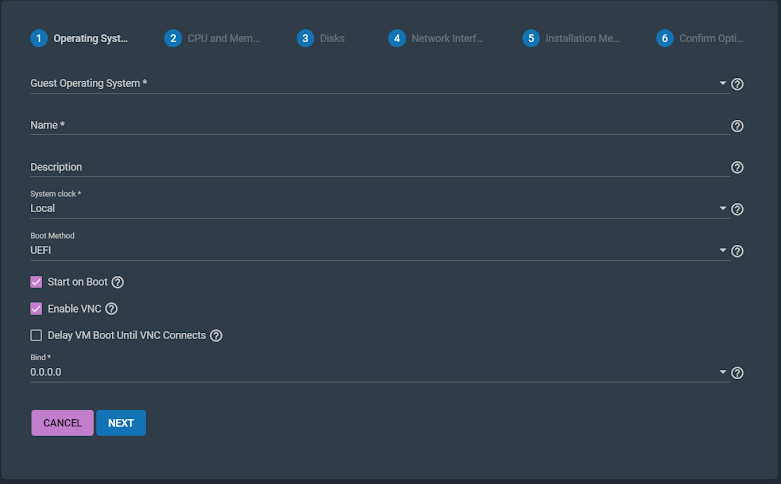
FreeNas Virtual Machine Step 1

Step 1

Because we are using Ubuntu 20.04 has guest operating system we will select linux. Know we need to name the machine, for this tutorial it will be dockerblog. It is always handy to use the description field docker on Ubuntu for blog tutorial. All what follows we will keep has is. 

FreeNas Virtual Machine Step 1

Click Next button

Step 2

Here we will assign the number of Virtual CPUs and the amount of memory that the virtual machine will use. I will keep default settings and see what it will give further on in the creation of the virtual machine. (I have learned to put 1024 MiB for memory the hard way 😏)

FreeNas Virtual Machine Step 2

Click Next button

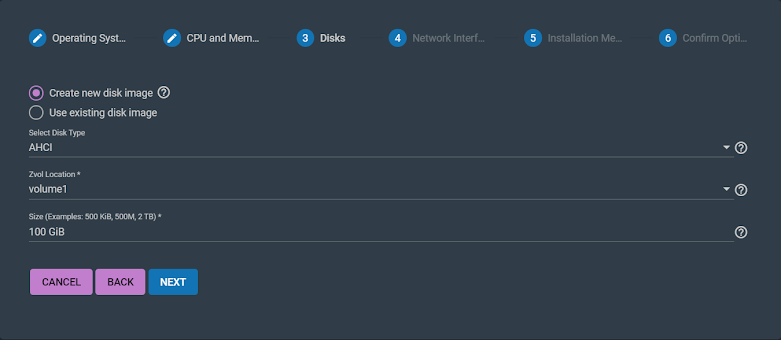
Step 3

Here we will assign a virtual disk to the virtual machine. It will be a new disk. Disk type we leave on AHCI. Zvol location you will have to choose depending on what you have defined on you FreeNas system. I have two volumes RAID5 and volume1. All my vm zvols are on volume1. For disksize  I will set it to 100Gb

FreeNas Virtual Machine Step 3

Click Next button

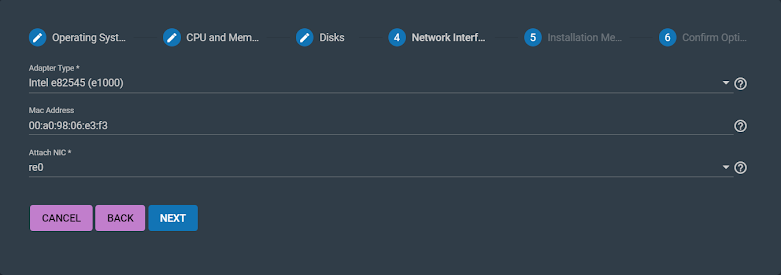
Step 4

Easy I keep all the settings on default.

FreeNas Virtual Machine Step 4

Click Next button

Step 5

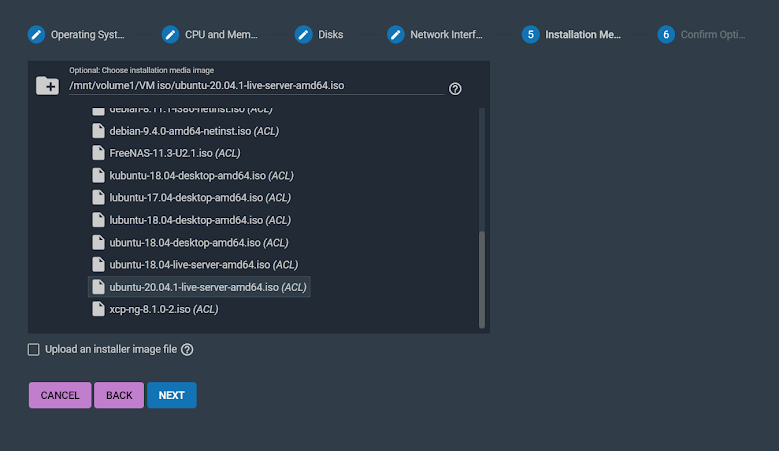
Here we have to select the Installation Media. In my Homelab all the ISO files are on a volume named VM iso on volume1 that also is shared with SMB. If i have a new ISO for a VM. I will put it on the volume VM iso. On my workstation I will download the ISO that I want to use and copy it over to the share VM iso. 

FreeNas Virtual Machine Step 5

VM iso share in windows explorer

Step 6 

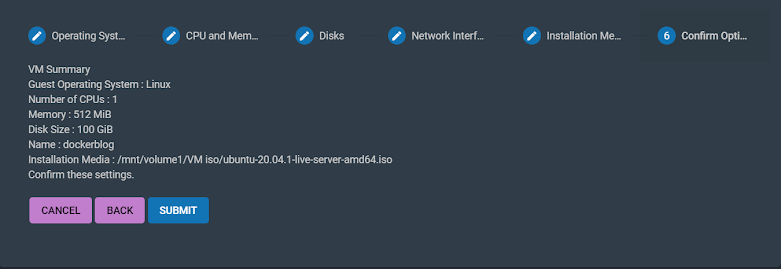
Confirm the settings click on SUBMIT.

FreeNas Virtual Machine Step 6

Know the VM named dockerblog is added to the VMs list.

FreeNas Virtual Machine List

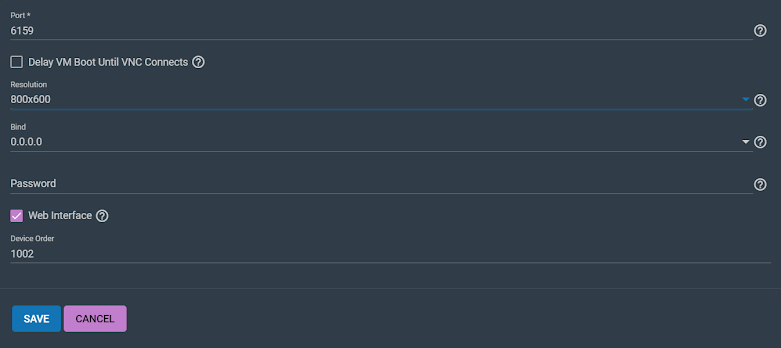
Before starting up the VM dockerblog we will have to check the resolution for VNC open DEVICES for dockerblog. Select edit for device VNC and change the resolution to 800 by 600. And SAVE the settings.

Freenas Virtual Machine summery

FreeNas Virtual Machine Device VNC settings

Click the SAVE button.

Go back to the virtual machine list. Startup the VM dockerblog. Click on VNC it will open a TAB page on in your browser. Know we can start installing Ubuntu on the VM.

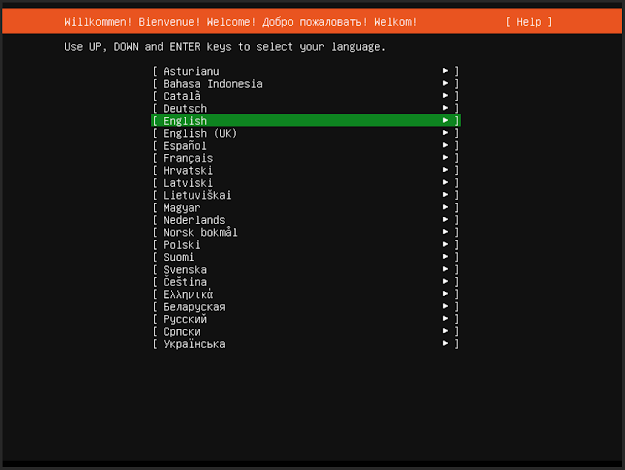
First screen is to select the language.

Ubuntu 20.04 setup screen

Keyboard configuration, in my case Belgian keyboard.

Ubuntu 20.04 setup screen

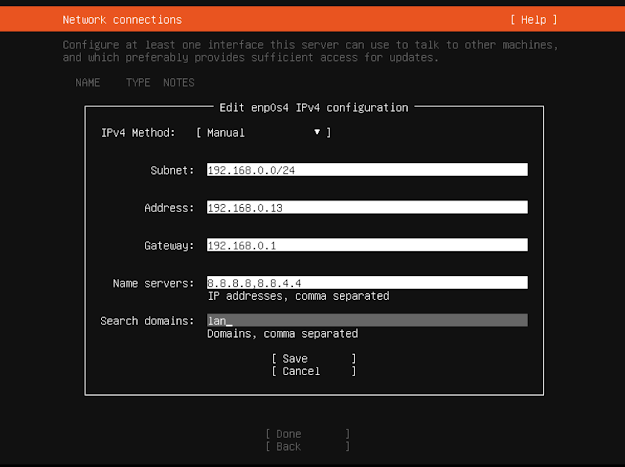
The next screen will be for the network connection. I will set a static address for this tutorial. If you don't now what to set leave it on DHCP. Some minimum network knowledge is needed 😢.


Ubuntu 20.04 setup screen

The following configuration screens are left to default.

  • The proxy configuration screen for my network not needed so I can skip. (no proxy in my homelab environment)
  • The Ubuntu archive mirror.
  • The guided storage configuration.
  • Storage configuration.
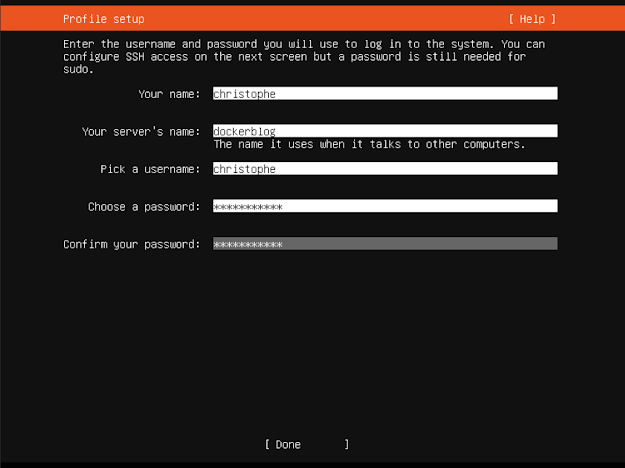
For the profile setup you have to give credentials for your administrative account. Very important "do not forget them" you will need your credentials to login and to sudo 😑.

Ubuntu 20.04 setup screen

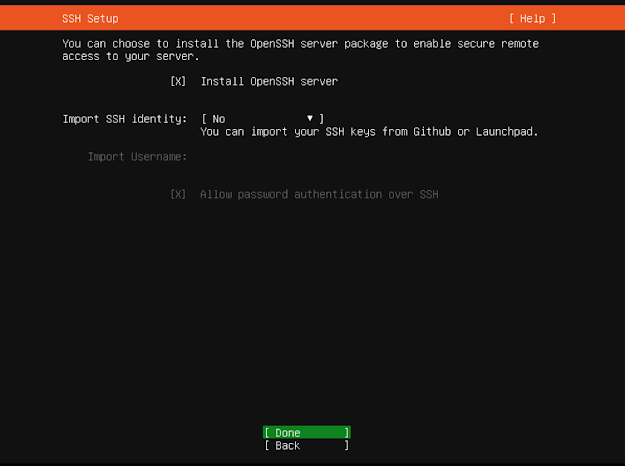
In the next screen I select Install OpenSSH server. I prefer to use SSH when I can.

Ubuntu 20.04 setup screen

In featured server snaps select docker.

Ubuntu 20.04 setup screen

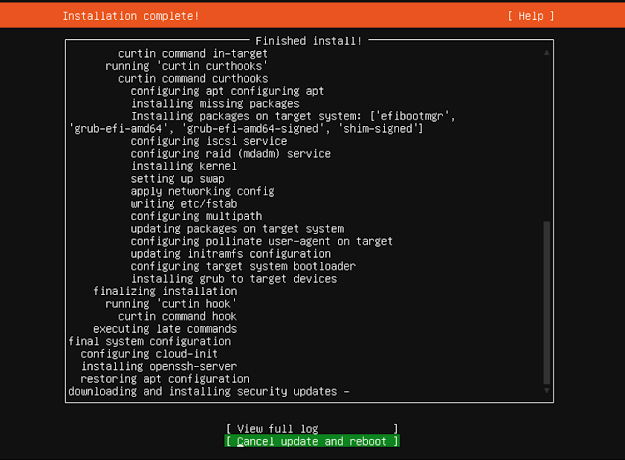
Know the installation will complete.

Ubuntu 20.04 setup screen

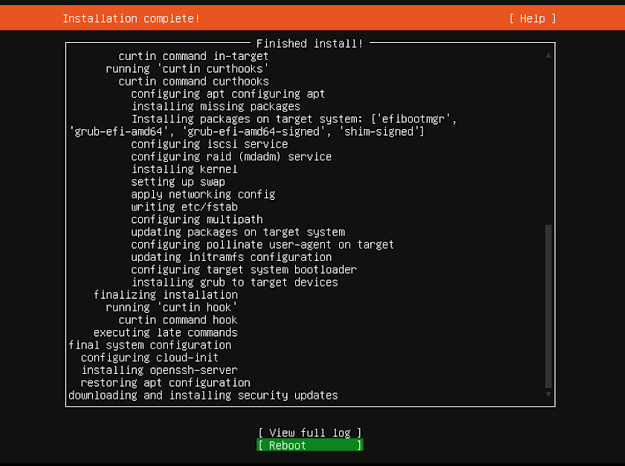
When the installation is finished reboot the system.

Ubuntu 20.04 setup screen

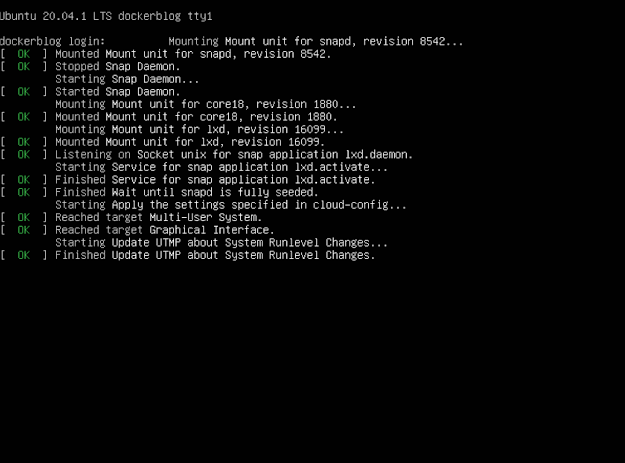
The message failed unmounting /cdrom will be shown. Poweroff the VM dockerblog. Go to Devices and delete CDROM. And start up dockerblog. Then click again on VNC and watch the start up process.

Ubuntu 20.04 boot screen

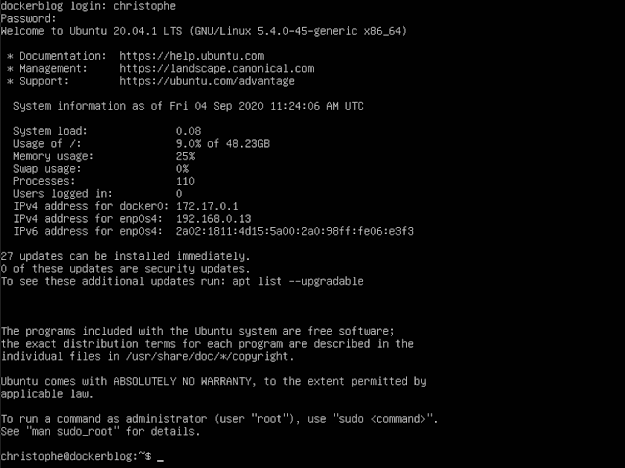
After the start up is finished login into your new VM dockerblog with credentials given when setting up Ubuntu. In my case christophe and my top secret password.

Ubuntu 20.04 after login screen

The first thing to do is to test if docker works. For this we will pull an image and run it. But first we will have a look at which version of docker we are running.

$ docker --version

show docker version screen

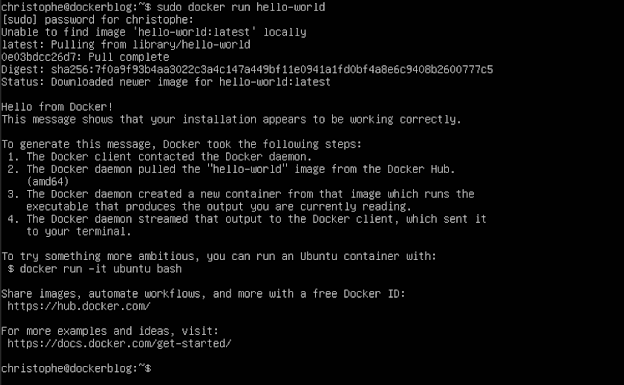
We will test our installation by running the Docker image hello-world.

$ sudo docker run hello-world

sudo docker run hello-world screen

If you get "Hello from docker" on your screen the setup is OK. Now you can have fun with docker. If the learning curve is to steep. You can also install portainer and go further on from there. It will help to understand docker and to deploy dockers with ease.


Comments

Post a Comment

Popular posts from this blog

How to migrate a dataset from one pool to another in TrueNAS CORE ?

The migration steps. 1. Stopping the services that use the dataset. (recommended). 2. Replicating the dataset to the new pool. 3. Verify that all data is replicated. 4. Put in operation the new dataset. 5. Delete the old dataset when satisfied (or not).   The video tutorial can be found by clicking on the title or the picture below. How to migrate a dataset from one pool to another in TrueNAS CORE 1. Stopping the services that use the dataset (recommended). Go to the services tab and what I do if not certain of which services are used by the dataset I let only running the services from which I am cetain that they do not use the dataset. Also, control jails and Virtual Machines to be sure that they do not use the dataset. In the video I do not stop the services to show it is possible. 2. Replicate the dataset to the new pool. a. go to Tasks --> Replication Tasks b. add new replication task c. select source location (example select on this system source /mnt/volume1/VM iso) d. select

How to fix a degraded pool state in TrueNAS ?

The title could also be``How to change a bad drive in TrueNAS?`` and in my case ``How to upgrade the pool storage space?`` but had it the end it was ``How to trouble shoot during this process?``.  The documentation I used can be found had  https://www.ixsystems.com/documentation/freenas/11.2/storage.html#replacing-a-failed-disk How to fix a degraded pool state in TrueNAS ? In my homelab environment I am using, one off the disks is bad in my TrueNAS. I had to detach the faulty drive to be able to boot the server up again. To replace the disk you must have a replacement disk from the same size or bigger. Because I have to upgrade my pool to a bigger capacity I will change all my 2TB drives to 6TB drives but for obvious reasons I will begin with the bad one: ``I like my data``. Before replacing the drive I will scrub the pool and set the faulty drive offline (which was not possible because the drive was not connected). Replace the drive and adding it again to the pool has a replacement. T